
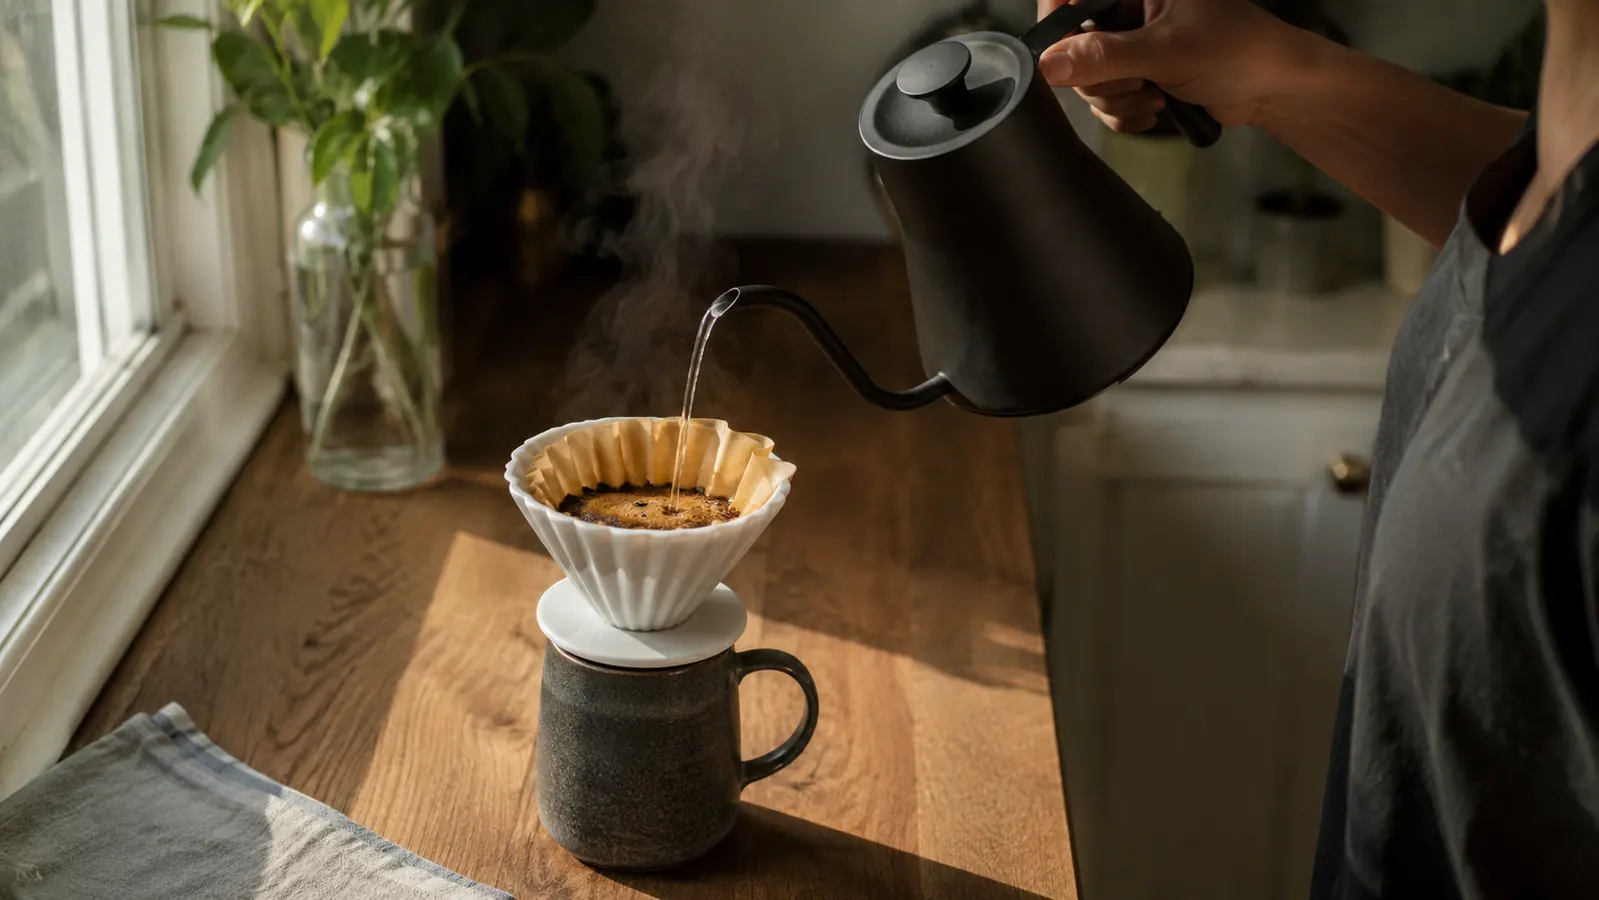
Pour-over coffee sounds simple until you actually try to control the water going into the filter. For about a year I made mine with a regular electric kettle, the kind with a wide spout built for filling a teapot, not aiming a thin stream at a bed of grounds. The water came out in a rushing splash no matter how carefully I tilted it, so half of it hit the center of the filter and blew straight through the grounds, and the rest ran down the paper sides where the coffee barely touched it. Every cup tasted a little different, and none of them tasted like the version I was trying to copy from the coffee shop down the street.
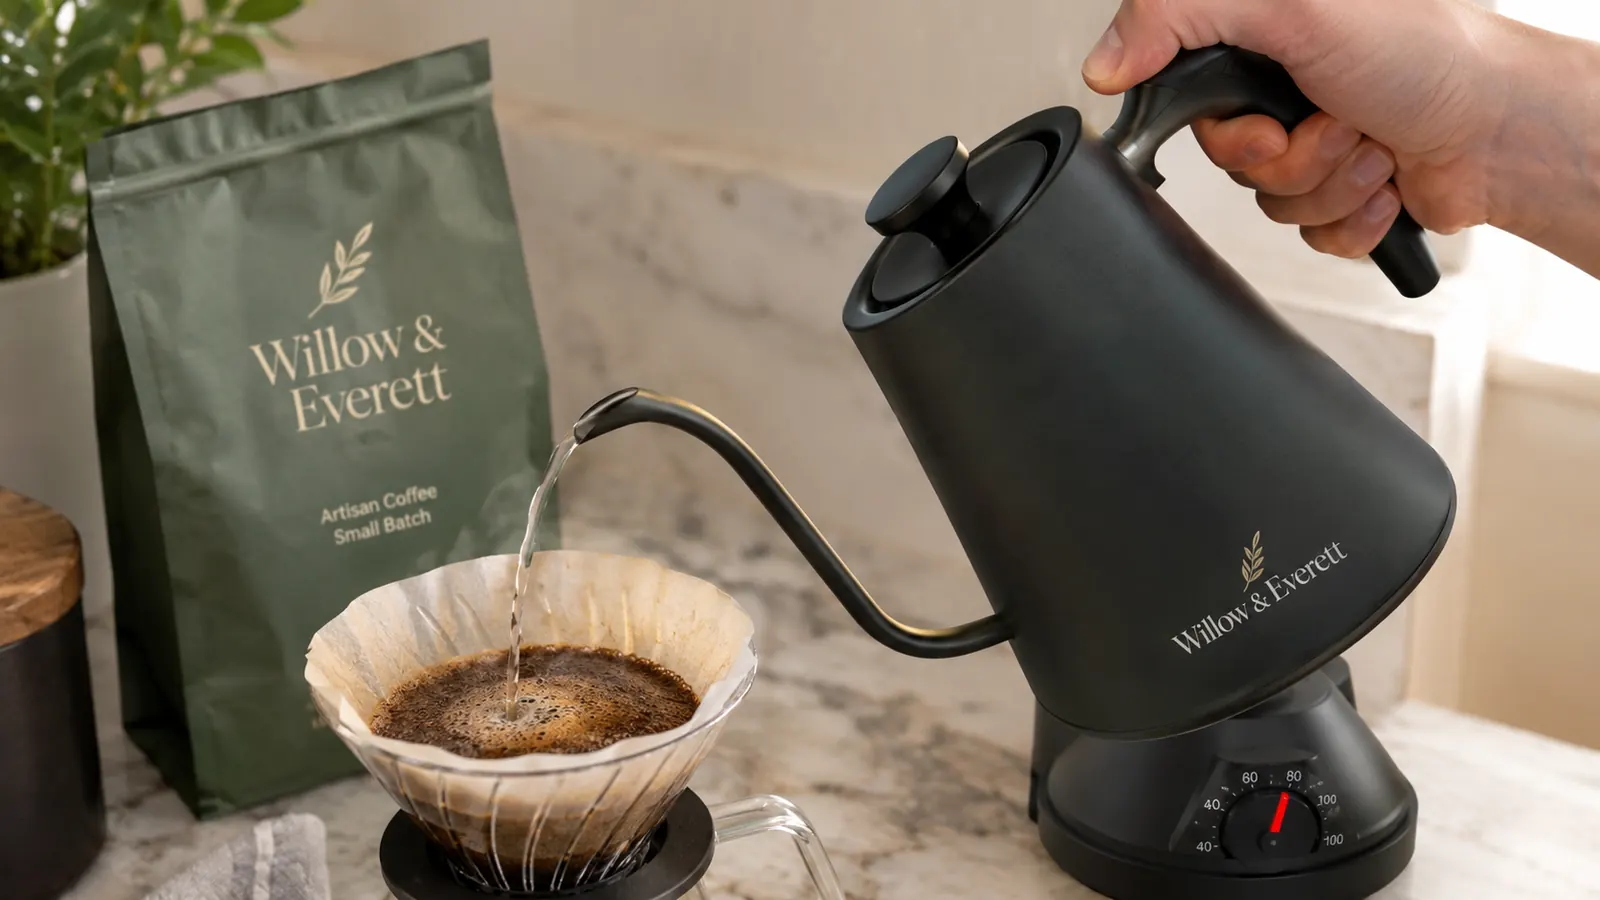
What actually fixed this wasn't a better bag of beans or a fancier filter. It was switching to a kettle built for the job, a Willow & Everett gooseneck electric kettle with a long curved spout and a temperature dial on the base. The narrow spout is the whole trick. It slows the water down to a controllable stream before it ever leaves the kettle, so instead of fighting gravity and a wide opening at the same time, I'm just aiming a thin, steady pour wherever I want it to go. If you want the longer story of how I landed on this specific kettle, including the two rough weeks I spent trying to fake it with a saucepan and a turkey baster, I wrote about that here. Below is the process I use now, step by step, for one mug at a time.
Stop pouring coffee with a kettle that wasn't built for it
A wide-spout kettle turns water into a splash before it ever reaches the grounds. This gooseneck kettle slows it to a thin, aimable stream and holds a set temperature while you pour. See today's price on Amazon.
Amazon Check Today's Price on Amazon →Step 1: Weigh your coffee and water before you heat anything
My mug holds close to 12 ounces, and for that I use about 20 grams of coffee, medium-fine grind, closer to table salt than flour. I weigh it on a cheap kitchen scale I already owned rather than scooping, because a scoop of coffee can vary by several grams depending on how tightly it packs, and that difference shows up as a noticeably weaker or stronger cup than the day before. Weighing takes fifteen seconds and removes the guessing entirely.
I measure the water the same way, roughly 320 grams for that 20 grams of coffee, which lands close to a 1 to 16 ratio. That number isn't sacred. Some mornings I want it stronger and drop closer to 1 to 14, other mornings I want it lighter and go closer to 1 to 17. What matters is doing this step before the water goes on to heat, not after, because once the kettle starts climbing toward temperature I don't want to be digging through a cabinet for the scale while the water overshoots.
Grind freshness matters more here than most people expect. Coffee that's been ground and sitting in a bag for two weeks loses a lot of what makes pour-over worth doing over a drip machine in the first place, so I grind right before I brew when I can manage it, and I buy beans in smaller bags so I'm not working through week-old grounds by the end of the week.
Step 2: Heat the water to match your roast, not to a boil
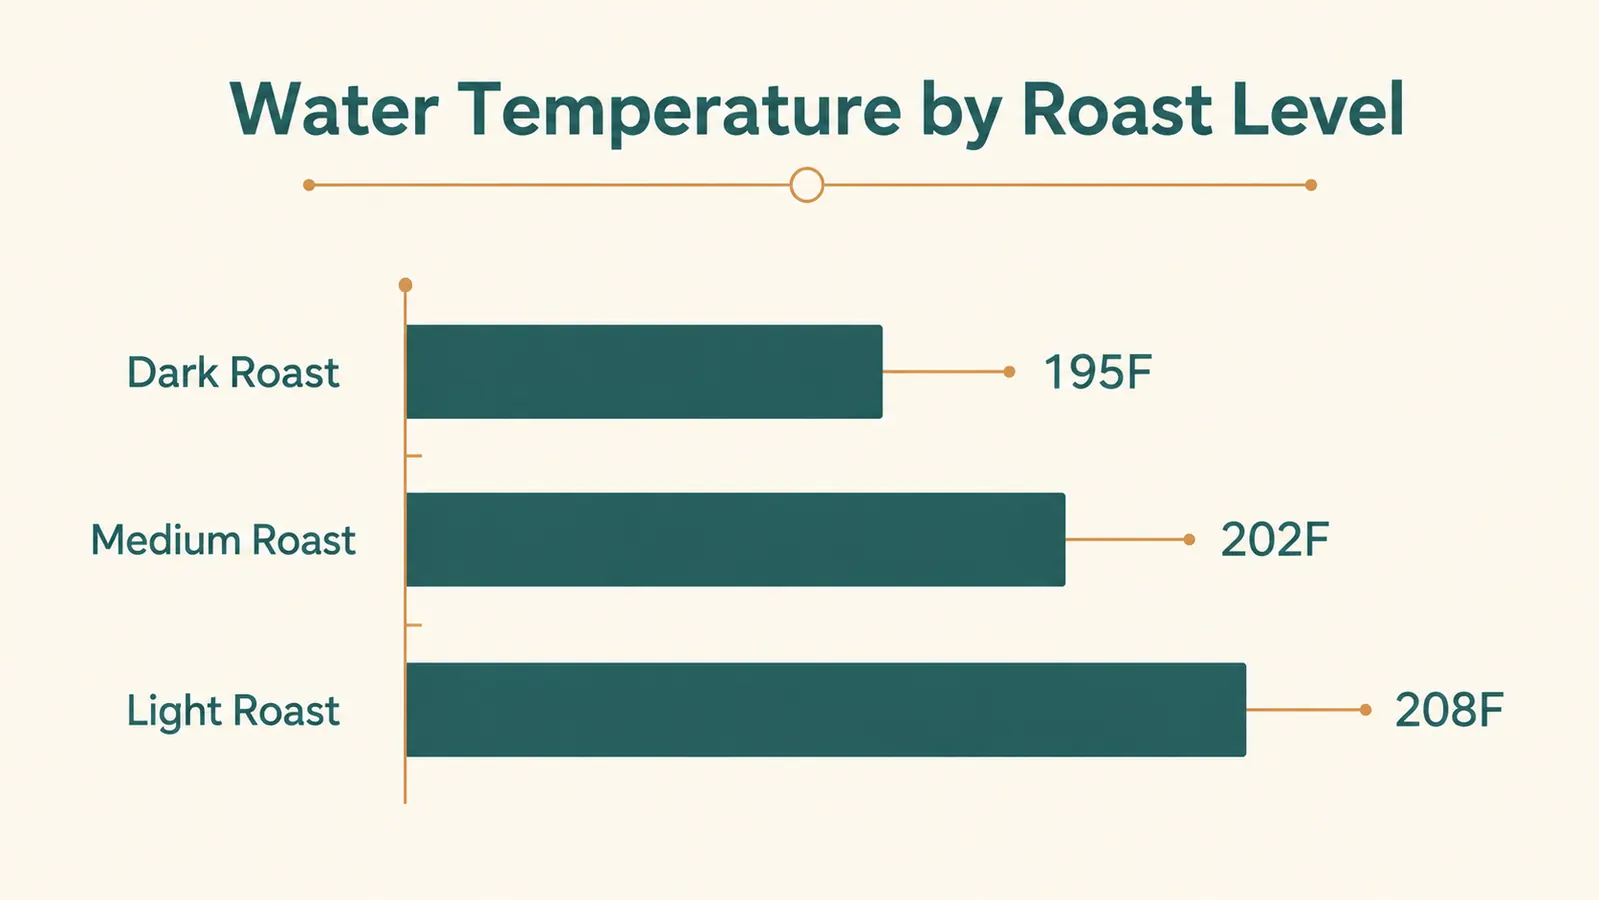
This is the step that a basic kettle can't help you with. Most electric kettles have exactly one setting, boiling, and boiling water scorches coffee grounds, especially a darker roast, pulling out a flat, burnt bitterness instead of the flavor the roaster actually intended. A gooseneck kettle with a temperature dial lets you set the number and walk away, which is most of why I switched to the Willow & Everett in the first place. Mine sits at around 202 degrees Fahrenheit for the medium roast bags I buy most weeks, closer to 195 for a darker roast, and up near 208 for a lighter one.
Before I had a kettle with a dial, I was doing this with an instant-read thermometer clipped to the side of a saucepan, watching the number climb and yanking the pan off the burner at the right moment, which worked maybe half the time and left the water either a few degrees too hot or already cooling by the time I'd poured it into anything. Setting a target temperature and letting the kettle hold it there removed that guessing entirely.
The keep-warm option on mine has turned out to matter more than I expected too. On mornings where I'm interrupted between heating the water and actually brewing, whether that's a phone call or just getting distracted rinsing the filter, the water doesn't drift back down toward room temperature the way it would sitting in an open saucepan. It holds the set number until I'm actually ready to pour.
Step 3: Bloom the grounds for 30 to 45 seconds
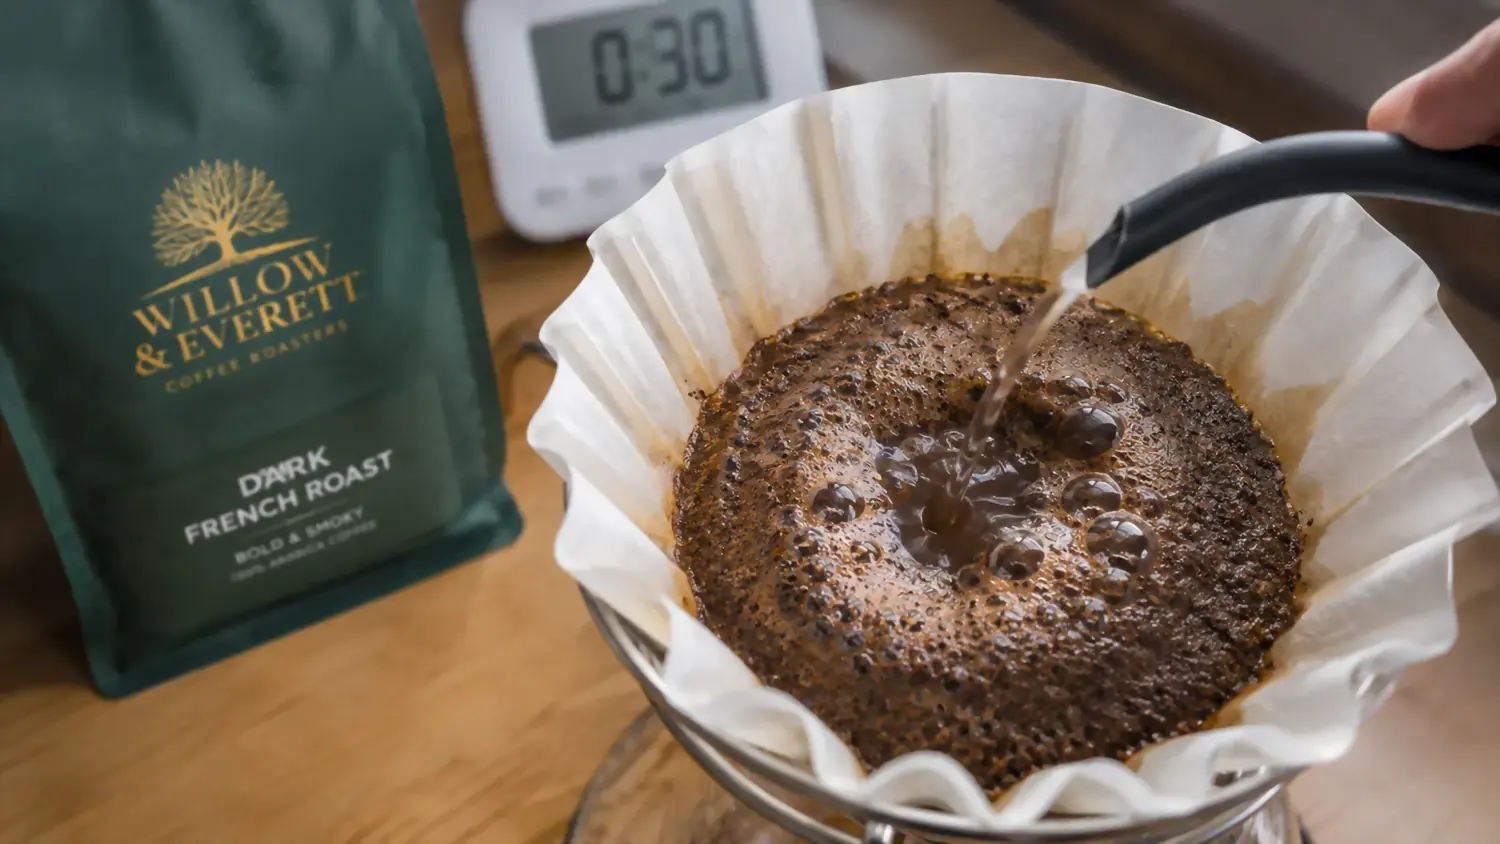
Before the full pour, I wet the grounds with a small amount of water, roughly twice the weight of the coffee itself, so about 40 grams for my 20-gram dose. I pour it in a slow circle over the grounds, just enough to saturate everything evenly, and then I stop and let it sit.
What happens next is the actual point of this step. Fresh coffee releases trapped carbon dioxide when it hits hot water, and the grounds bubble and rise into a small dome, sometimes called cratering. If the grounds barely react, sitting flat and quiet instead of bubbling, that's usually a sign the beans are past their prime, not a brewing mistake on your end. I give it 30 to 45 seconds before moving on, timed on my phone, since rushing this step means the coffee hasn't finished degassing when the full pour hits it, and that shows up as an uneven extraction later.
I used to skip blooming entirely when I was in a hurry, and the coffee still came out drinkable, just noticeably flatter and less aromatic than when I give it the full 30 seconds. It's the cheapest step in the whole process, it costs nothing but a little patience, so at this point I don't skip it even on the mornings I'm running behind.
Step 4: Pour in slow circles, not a steady stream
After the bloom, I pour the rest of the water in stages rather than all at once, working in a slow spiral that starts near the center of the grounds and moves out toward the edge of the filter, then back in again. I avoid pouring directly against the paper wall of the filter itself, since water that skips the coffee bed entirely runs down the side without extracting anything on the way.
This is the step where the gooseneck spout earns its keep. With the wide-spout kettle I used before, controlling a spiral this small was basically impossible, the water came out in a rush no matter how carefully I tilted it. The narrow curved spout on the Willow & Everett lets me slow the stream down to something closer to a thin ribbon, so I can actually trace a circle instead of dumping water in one general area and hoping for the best.
I aim for the full pour, bloom included, to land somewhere between two and a half and three minutes total. Faster than that and the water runs through before it's pulled out much flavor, closer to a weak, watery cup. Slower than that and the grounds sit in contact with water too long, tipping toward the same bitterness a boil-only kettle causes. I don't watch the clock obsessively, I mostly just pour steadily and check the time when it's done, adjusting the next cup slightly if this one ran fast or slow.
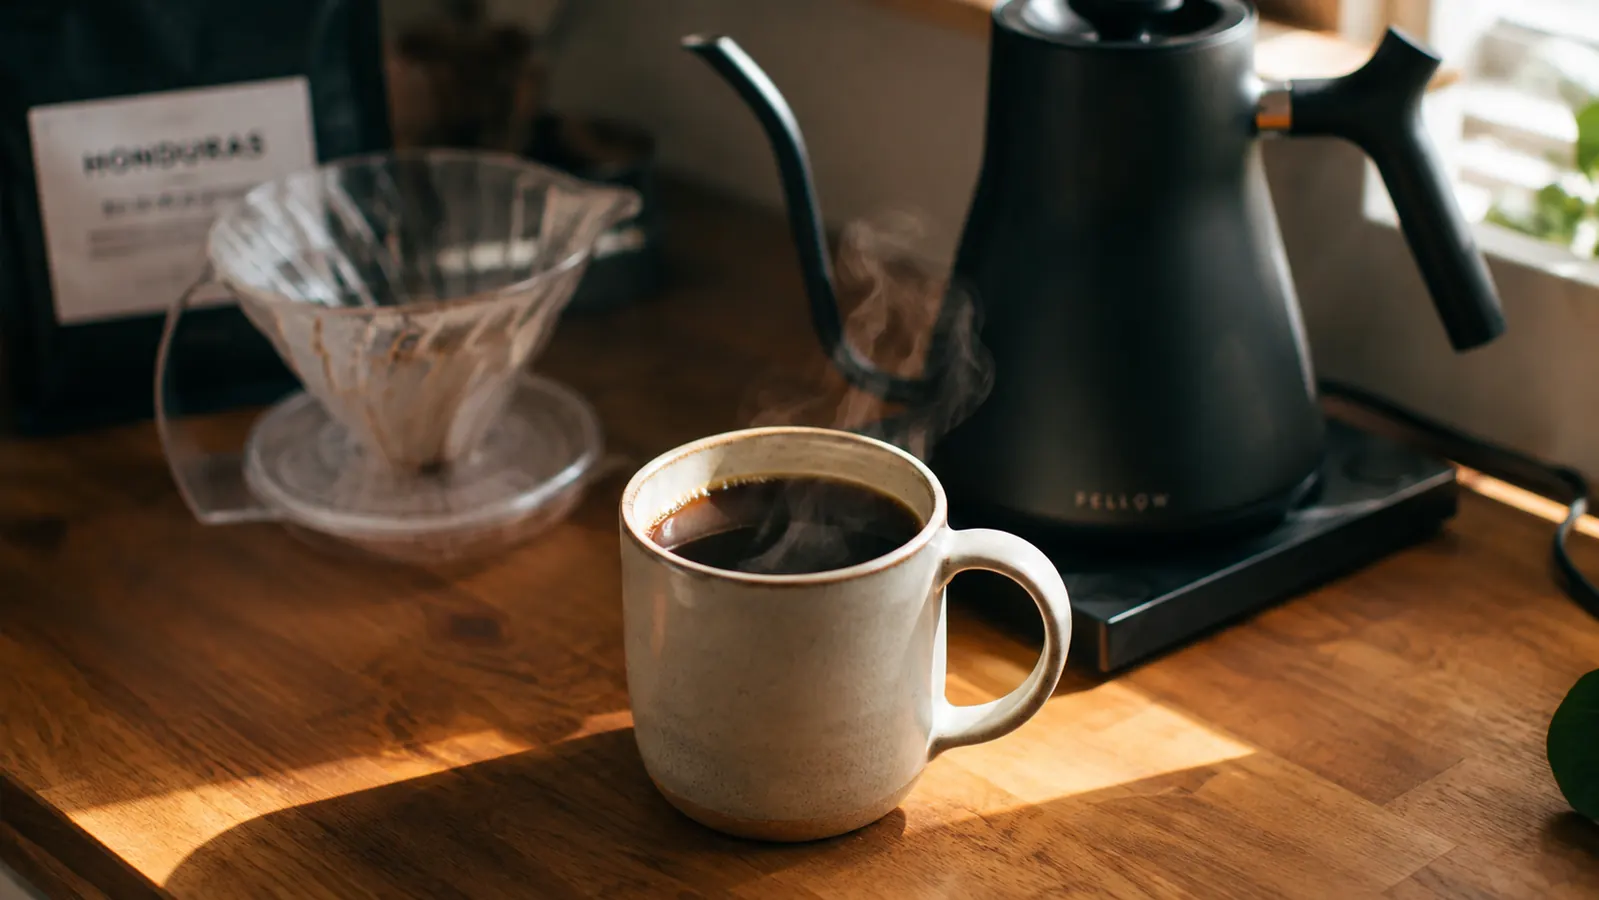
Step 5: Let it finish draining before you drink it
Once the last of the water has gone in, I leave the dripper alone and let gravity do the rest instead of stirring the grounds or pressing on the filter to speed things up. Pressing or swirling pulls fine particles through the paper and into the mug, which shows up later as a gritty layer at the bottom instead of a clean cup.
Total drain time from the first pour to the last drip usually lands around four minutes for me, though it varies a little with grind size and how fresh the beans are. When the dripper stops dripping and only wet grounds are left behind, I lift it off the mug and set it aside, grounds and filter both, and that's the coffee finished. I don't let it sit on the dripper any longer than it takes to drain, since coffee left resting on spent grounds keeps extracting slowly and starts tasting bitter within a few extra minutes.
What Else Helps
A few habits outside the five steps make the whole routine more consistent without adding real time to it. I rinse the paper filter with hot water before adding any grounds, which washes out the papery taste some filters leave behind and preheats the mug at the same time, so the coffee isn't losing heat to a cold ceramic wall the second it lands. I also keep my beans in an opaque container instead of the clear bag they came in, since light and air both work against freshness faster than most people expect.
Grind consistency matters almost as much as temperature does. A blade grinder that chops unevenly leaves a mix of fine dust and larger chunks in the same batch, and that mix extracts at two different speeds, so the dust turns bitter while the chunks are still underextracted. A burr grinder, even a basic hand-crank one, fixes most of that without needing anything expensive. If you're deciding whether a gooseneck kettle is worth adding on top of a grinder you already own, I laid out the case for it in more detail here, including where I think it matters less than people assume.
Water quality is the one variable I underestimated for a long time. Coffee is mostly water, so tap water with a strong mineral or chlorine taste comes through in the cup no matter how carefully you hit every other step. I switched to filtered water for brewing specifically, not for drinking generally, and noticed the difference within the first pot.
The kettle didn't make me a better barista. It just stopped punishing me for pouring too fast.
None of this requires brewing at the same time every day, which was the part I actually needed fixed. Some mornings I'm making this at six, some mornings closer to ten, and the process holds up the same either way because none of the five steps depend on a clock beyond the timer running during the bloom and the pour itself. If you want to see how this kettle handles the rest of a morning routine beyond just this one method, including where the temperature dial has been less reliable than I expected, the full review is here, and the head-to-head against a plain stovetop kettle is here.
A kettle that pours where you aim it, not where it wants to go
If a wide-spout kettle has ever blown water straight through your filter, a gooseneck kettle with a temperature dial fixes both problems at once: the pour and the heat. Check today's price on Amazon.
Amazon Check Today's Price on Amazon →